Do you have a green thumb? If not, don’t worry! You can still propagate houseplants like the pros. There are many different ways to do it, and in this blog post, we will discuss the most common ways to do so at home. We will also give you some tips on how to care for your newly propagated plants. So whether you’re new to propagation or a self-proclaimed pro, read on for some helpful information!
What is Propagation?
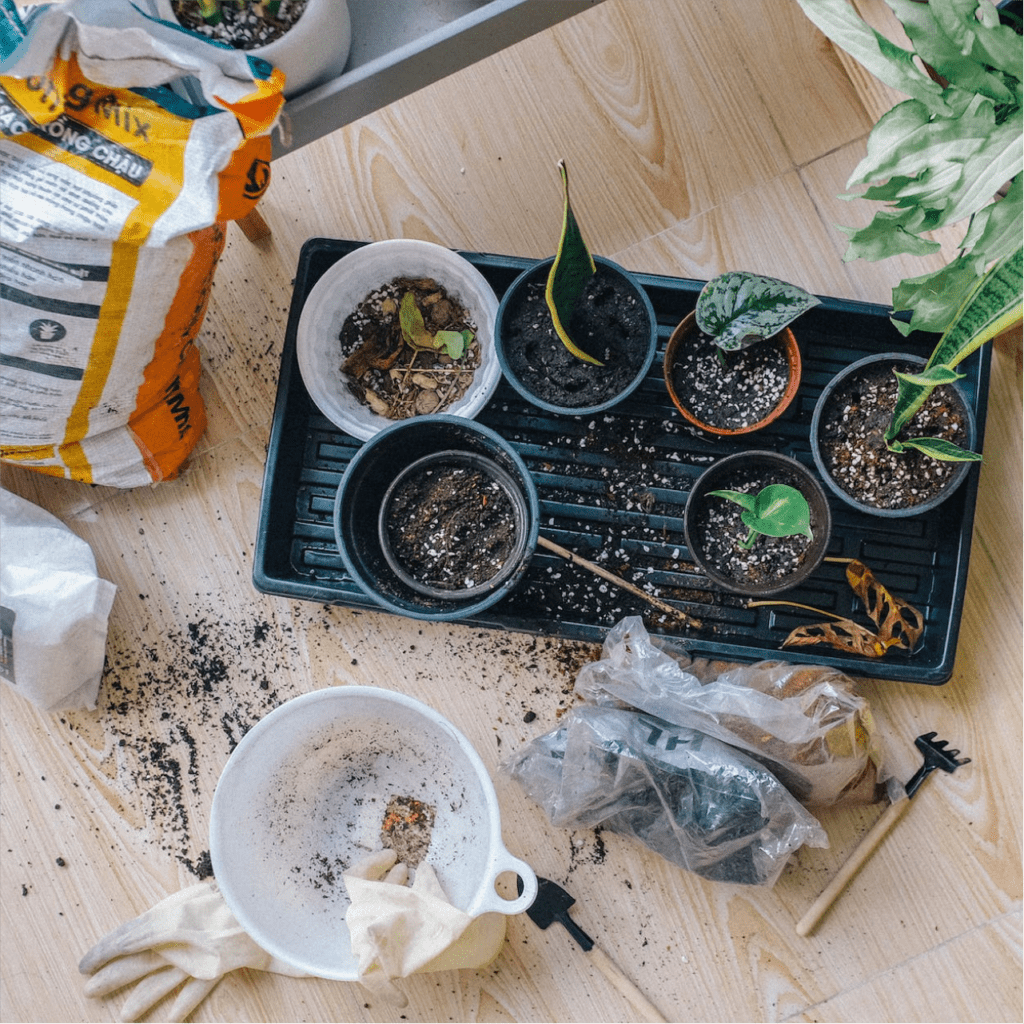
In its simplest form, propagation is the process of creating new plants from your existing ones. There are several different ways to propagate plants, but the most common method is through cuttings. These cuttings or pieces of plants can be rooted in just water, directly in the soil, or with a rooting hormone powder or gel as well as a potting medium.
Cuttings are pieces of stem or leaf that you can take from an existing plant. This plant is commonly referred to as the parent or mother plant. Once the cutting has developed new roots, it can be potted up on its own. Not all plants can be propagated via cuttings (more on that later), but many common houseplants can!
Let’s talk about Propagation
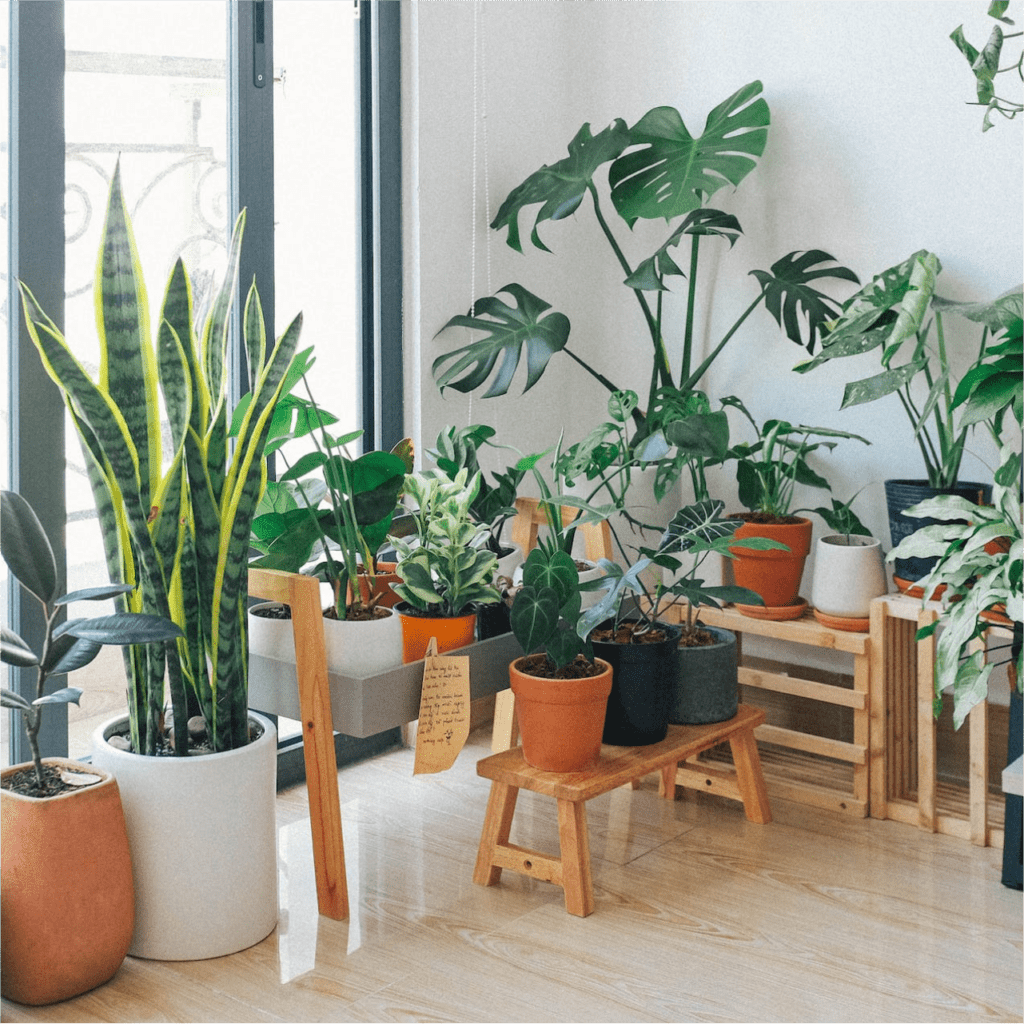
Propagating a plant is a great way to create a thicker and more lush houseplant garden, all without a lot of costs. Propagating plants at home is also beneficial for the environment since no transportation and new plastic pots are needed to do so. Yes, People! Be sure to recycle your nursery, clay, and decorative pots.
Ok, what do we do with the newly propagated plants?
- Your newly propagated plants can easily be replanted at the base of a thinning mother plant. This will be a no-cost option to keep established plants looking full.
- Create new plants to fill your house with a multitude of lush green beauties.
- Spread the jungle love and gift or find new homes for your plant bambinos.
Propagating is the key to not only reviving your plants but also creating new ones. So whether you’re a self-proclaimed plant pro or a complete novice, never fear theplantblogger.com is here to help you!
Simply continue to read on for tips and tricks on how to propagate your plants like a boss!
Which form of propagation is best for what plant?
Stem cuttings are best for:
- Pothos
- Spider Plant
- Philodendron
- Hoyas
- Rubber Plants
- Fiddle Leaf Fig
- Dracaena
Leaf cuttings are best for:
- Snake Plants
- African Violets
- Christmas Cactus
- Most succulents can be either leaf or stem propagated
Dividing plants are best for:
- Snake Plants
- ZZ Plant
First things first: The stem cuttings
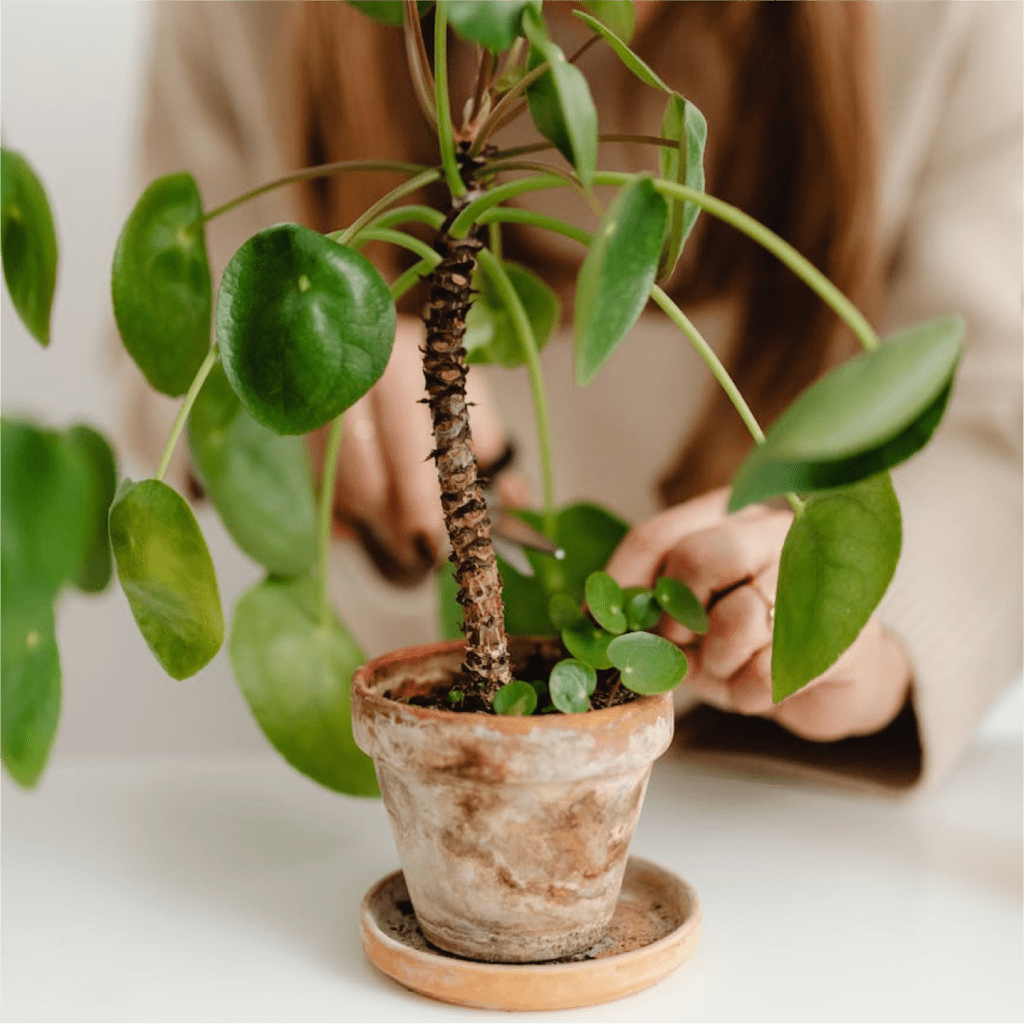
To take a cutting, use a sharp sterilized knife or pair of shears to snip off, preferably a piece of stem or in some cases a leaf from the parent or mother plant.
Make sure that the cutting that you take includes at least one node (this is the part where the leaves attach to the stem) and that there is no flower bud present. Also, try to avoid hard woody stems, they can be much harder to propagate.
Next up: Rooting the cutting
Once you have your stem cutting, it’s time to root it in water or use rooting hormone and directly pot it up!
Terracotta pots are a great option for propagating because they allow newly developing roots to breathe. Also, the porosity of the clay helps you to avoid over-watering these somewhat fragile plants.
The basic ways to propagate house plants are in the water or with rooting hormone and a planting medium
Basic steps with soil
- Fill your pot with quality sterilized potting soil, and use a stick to make a hole in the soil.
- Dip the cut-end of the cutting in rooting hormones.
- Insert the cutting into the potting soil.
- Gently press the soil down to secure the cutting into place.
- Carefully water the surrounding soil trying not to wash the rooting hormones off of the cutting.
Be sure not to plant the stem cuttings too deeply—you want the nodes to be just covered, but not completely buried. Once your cutting is potted up, place it in a spot with bright, indirect light and keep the soil moist but not soggy by watering when needed.
With proper care, your cutting should start to grow new roots and become a newly established plant within 2-4 weeks!
Basic steps in the water
- Fill a water-tight, sterilized vase or vessel with distilled or reverse osmosis water.
- Place the cutting in the water.
- Once roots have started to form, insert the newly rooted cutting into a sterilized potting medium.
- Gently press the soil down around the rooting cuttings to secure it into place.
- Water in thoroughly
Allow the cut end of the cutting to dry out or callus over a bit before placing it in water. This will help to avoid the cutting rotting in the water.
Place the vase with the cutting in a spot with bright, indirect light. Change the water out every few days until new roots have formed. Once roots have started to emerge, it is best to follow steps 3-5 as soon as possible to avoid stressing the plant in the transition from water to the soil.
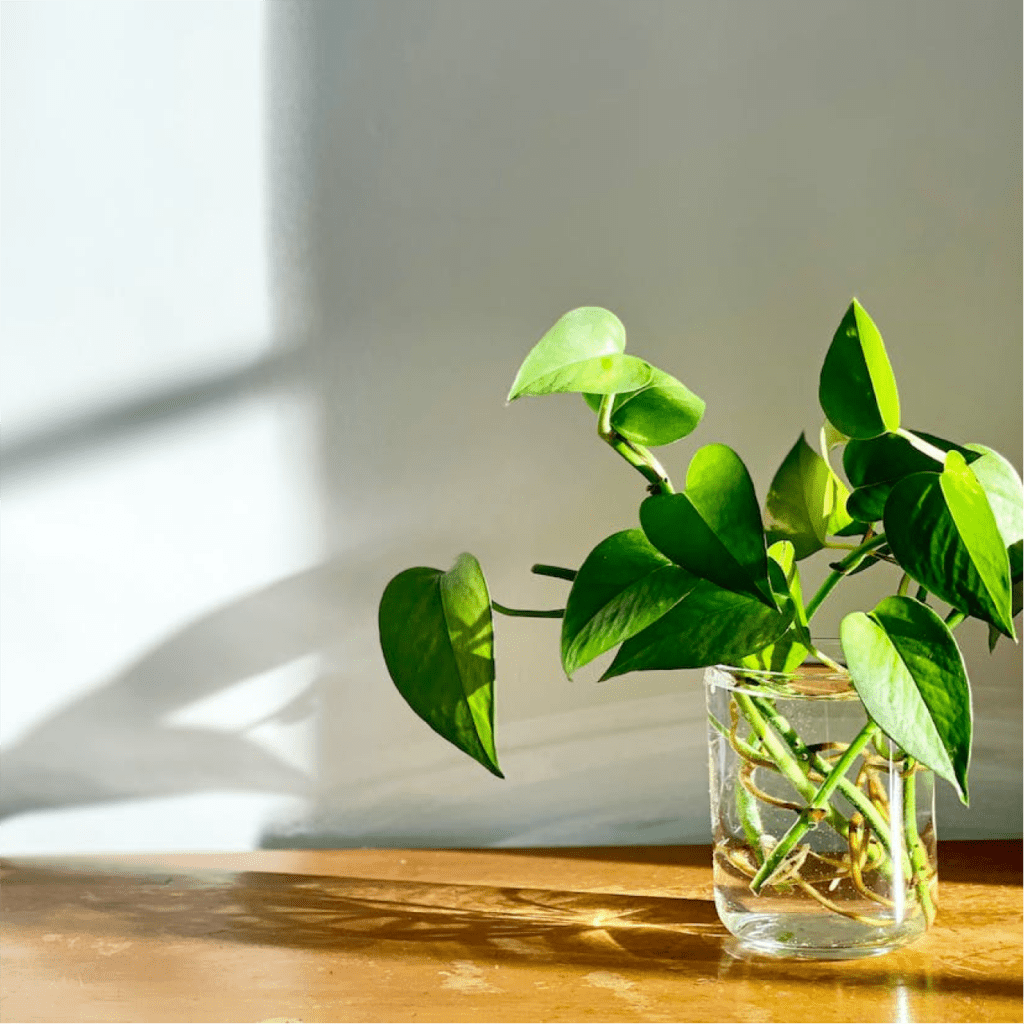
What if I like the look of my plants growing in water?
If you like the look of the cutting in the water, great! You can choose to leave it in the water for quite some time. Most houseplants like philodendrons and pothos can actually live in water for years. Just remember to change the water frequently and add a few drops of fertilizer from time to time.
What if I change my mind?
Once their roots have adapted to living in water for a long period of time, it will be a much harder or more stressful transition for them to be moved to the soil. It may be better to start over with a new cutting rather than stressing the established one with such a drastic change.
Dividing plants:
Some houseplants like snake plants can be propagated by dividing them at the junction where roots meet the leaves or stems. Below are the key steps involved in separating clump-forming plants at their root ball to create new plants:
- Make sure that the plant you want to propagate is one that can or should be easily divided.
- Choose a time of year when the plant is actively growing. This will give the new divisions a better chance of taking root.
- Use a sharp knife or pair of shears to carefully divide the plant at the base by the roots into sections.
- Be sure to replant the divisions as well as the parent plant immediately to avoid stressing them.
- Water them well to make sure there are no air pockets in the soil.
Place the vase with the cutting in a spot with bright, indirect light. With a little care, your newly divided plants should thrive.
Air layering plants:
Air layering is a not-so-basic way to propagate plants, but is well worth the effort for difficult or hard-to-propagate plants. It is also a safer way to insure the propagation of expensive plants. But it can take some time to do so and is a little more involved.
See my article for more details:
How to Air Layer a Plant: A Short, Detailed Blog
Go-to guide to Propagating Common Houseplants
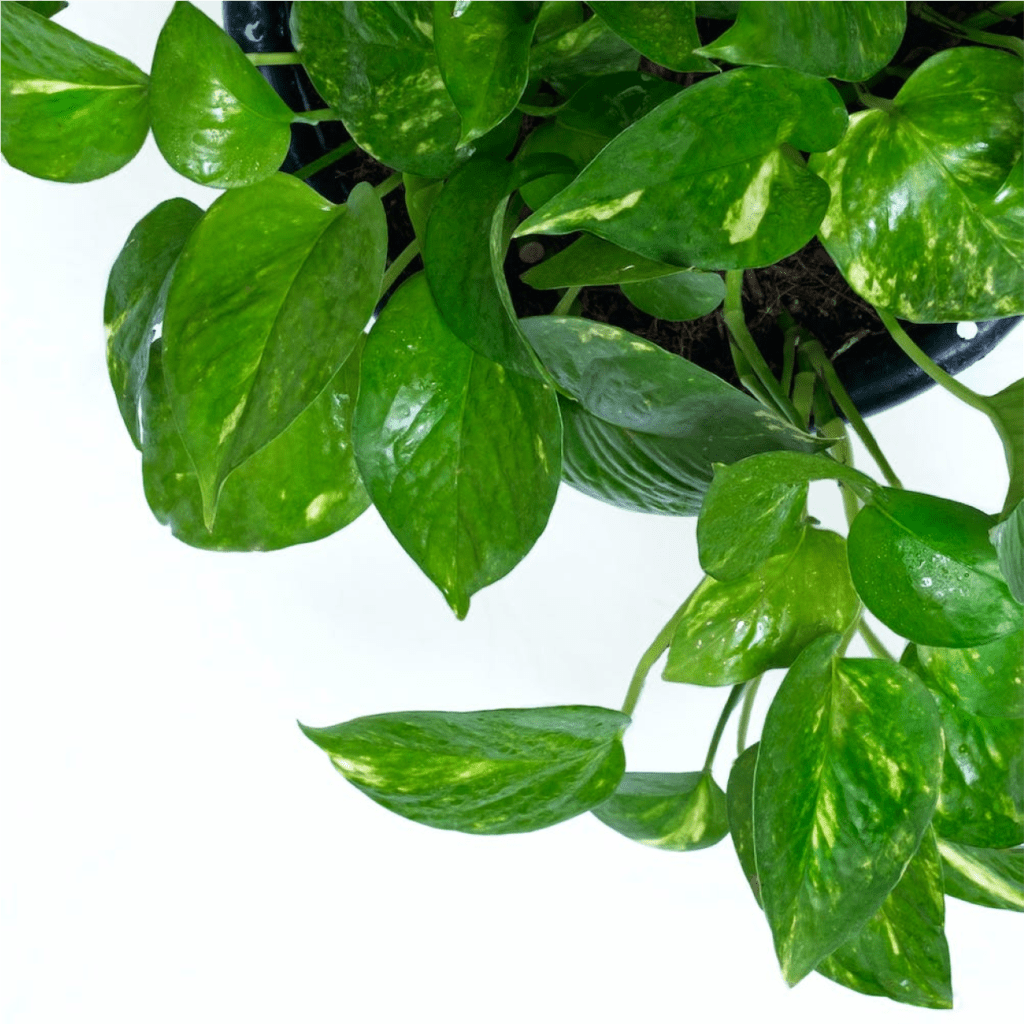
Pothos:
This is one of the easiest and most common plants to propagate! Pothos cuttings can be taken at any time of year and will root readily in water or potting mix.
Simply take a 4-6 inch cutting from the vine of an existing pothos plant and remove the bottom leaves so that only 2-3 leaves remain. The cutting can then be placed in water or potted up as instructed above.
If in water, within 2-4 weeks, you should see roots start to form!
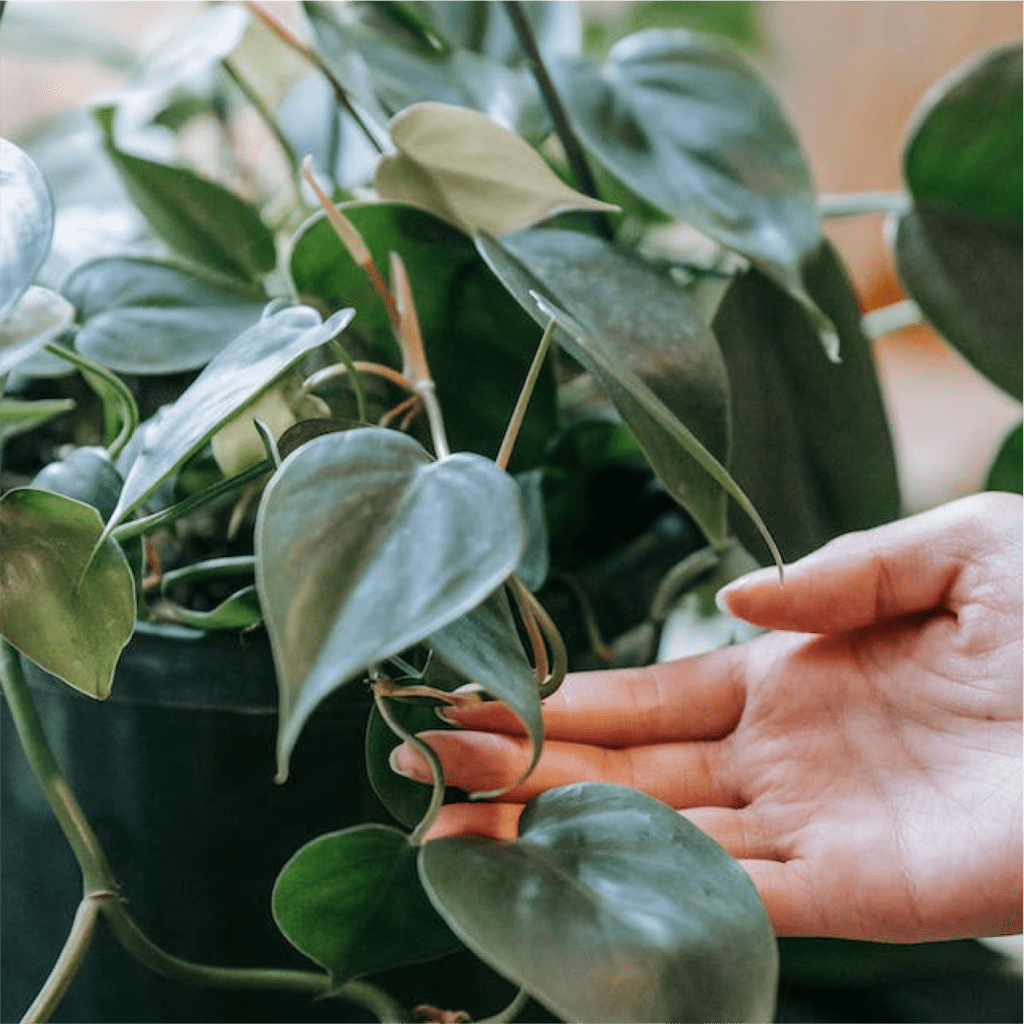
Philodendron:
The philodendron plant can be propagated via stem cuttings taken at any time of year. For stem cuttings, take a 4-6 inch piece of stem from an existing philodendron plant and remove any leaves from the bottom 2-3 inches. Like pothos, the cutting can then be placed in water or potted up as instructed above. If in water, within 2-4 weeks, you should see roots starting to form!

Spider plant:
Another super fun and easy-to-propagate houseplant are spider plant. These will naturally produce offsets or “pups” that it sends out on the stems after it blooms. When the plant is nearing the end of its bloom cycle, tiny little spider plants will emerge and with time will grow into new plants while still attached to the mother plant!
These can easily be rooted or even grown in water for a long period of time without the stress of transplanting them into the potting soil.
You can also just snip them off from the stem and pot them up directly into the soil, they will root rather quickly and grow into beautiful plants in no time!
Parenting project
If you are a plant parent as well as a human parent, spider plants are a great option to propagate with little ones.
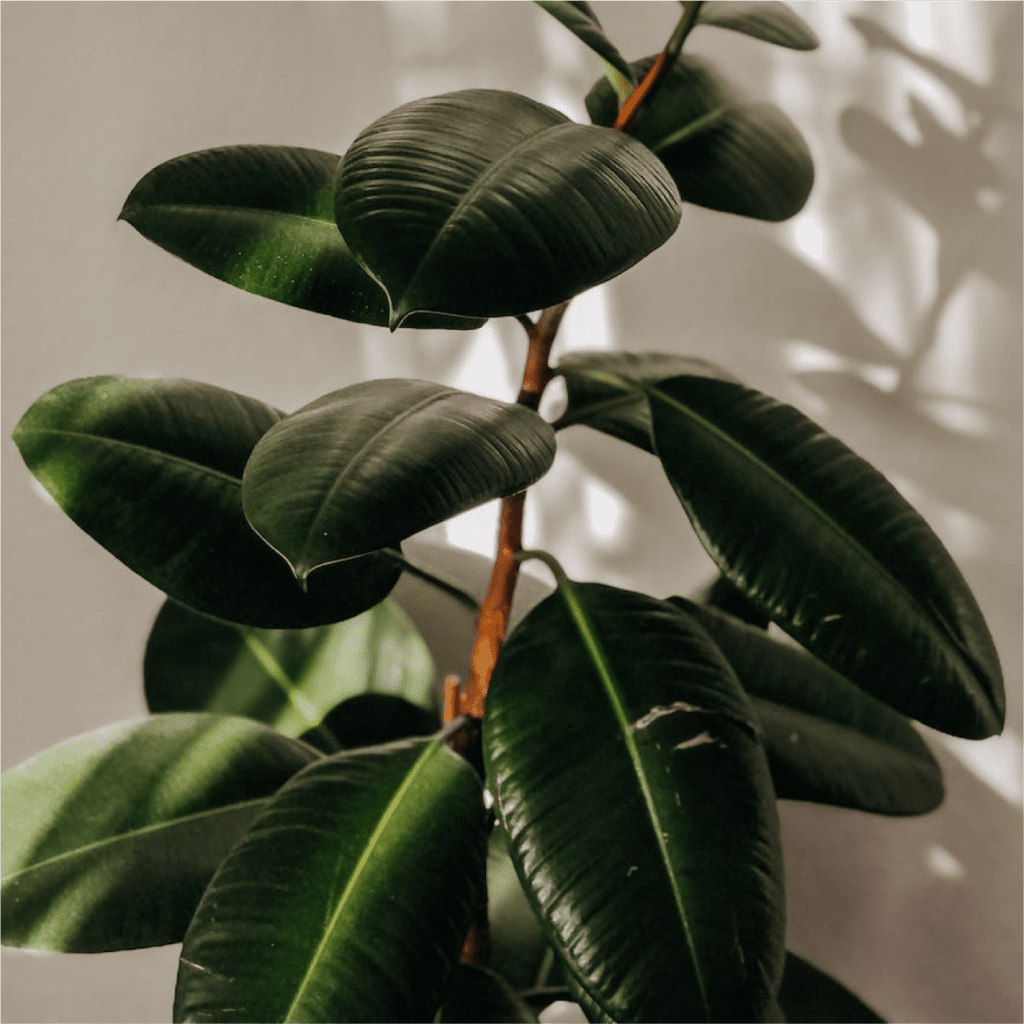
Rubber Tree:
This one is a bit more finicky than other houseplants when it comes to propagation. Rubber tree cuttings must be taken during late spring or early summer for best results. To take a rubber tree cutting, follow these steps:
- Use a sterilized sharp knife or pair of shears to snip off a 6-8 inch piece of stem from an existing rubber plant.
- Remove any leaves from the bottom 3 inches of the stem.
- Dip the cut end into a rooting hormone gel or powder before placing it in a moist potting mix. (be sure not to bury the node)
- Place your pot in bright indirect light and keep evenly moist until roots have developed (this usually takes at least 6-8 weeks).
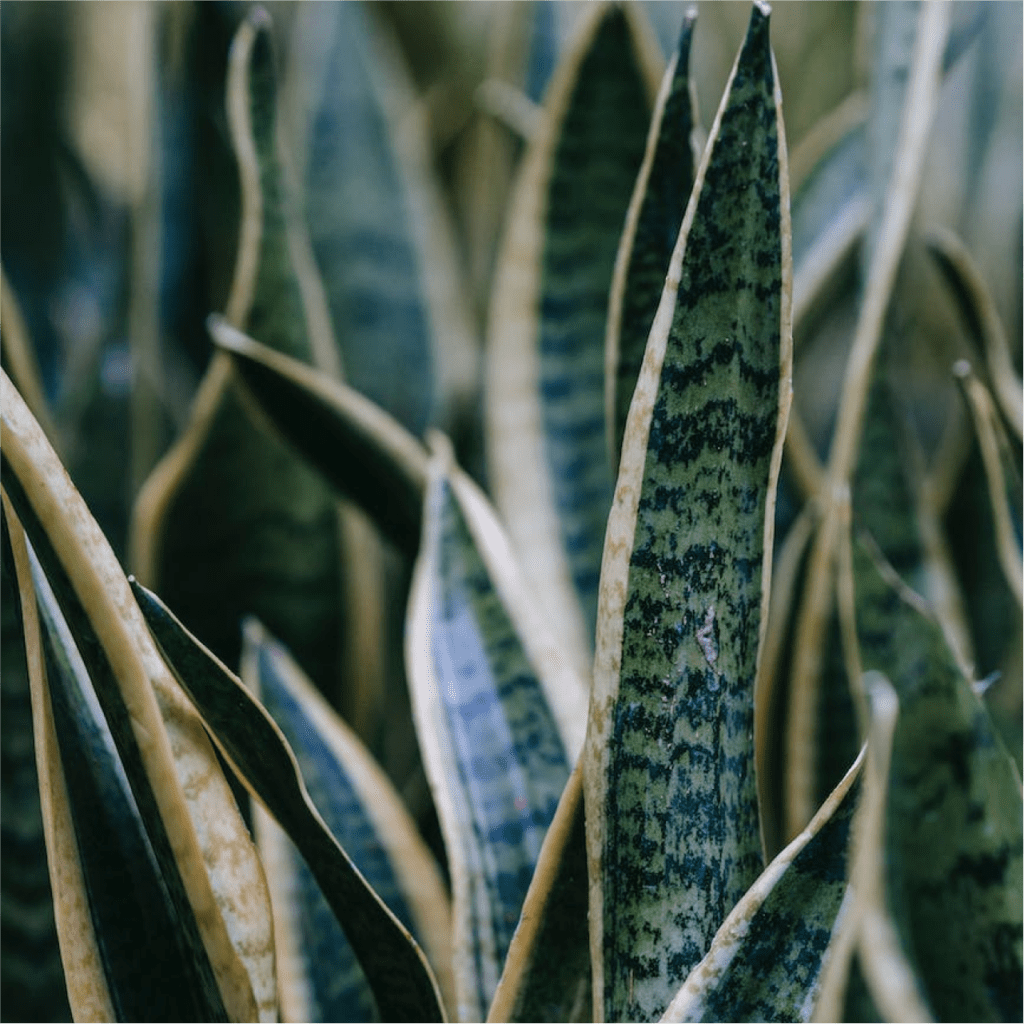
Snake Plant:
These are super easy house plants to propagate. For this plant, no stem is needed, just a leaf cutting. This plant can also be divided from the roots to create new plants. To proceed, simply take a 4-6 inch leaf cuttings from the leaves ideally on an angle. The leaf cuttings can then be placed in water or potted up as previously described above.
When rooting a leaf, this process can take a bit longer, expect root growth to form within 4-8 weeks! Propagating by leaf cuttings is a different process. After the roots have started to grow, it will send out new growth or a completely new plant from the rooted area of the leaf.
Note:
Some snake plants will revert back to a previous iteration when rooted by a leaf cutting. In essence, the variation or shape of the new leaves may not be the same on the new plant.
What to do with all these new plants?
Once my indoor garden has reached the look that I had in mind, I make good use of the “Extra” plant babies that I have created by using them as special gifts for friends and loved ones. They make great gifts for special occasions like birthdays and holidays or just because!
Be sure to pair the plant with the right person!
For example, a person who travels often and is not home much will do better with a low-maintenance and drought-tolerant plant. Or a person that loves to nurture things may find pleasure in watering often and will probably do better with a tropical plant like a philodendron.
Let’s get personalized
Find a special, unique, or personalized pot that the recipient will love. Even if the person receiving one of your plant babies is not a “Plant Person”. Your gift may make a bigger impression if they can see the thought and effort that you have put into it. And who knows, you be planting the seed for a new plant parent to develop!
Don’t forget to top-dress the soil
Add a thin layer of coco coir moss, sphagnum moss, gravel, sand, or even coffee beans to the top of the soil to dress it up a bit! Be mindful to choose a soil top dressing that not only connects with the recipient but also is appropriate for the plant!
Stay tuned to theplantblogger.com for my article all about top-dressing your houseplant soil!
I hope you have enjoyed my article on houseplant propagation
Propagating your houseplants is a great way to be green and reduce your carbon footprint in many ways! It’s also a great way to create personalized gifts and a low-cost option for creating a zen and healthy home jungle environment. With these tips and tricks, you’ll be propagating like a pro in no time!