Are you looking for a unique and creative way to spruce up your home décor?
Look no further than a new terrarium! Terrariums are living pieces of art that can add a touch of nature to any room. They are also a great way to teach children about plants and ecosystems. In this blog post, we will discuss the basics of creating your own terrarium. We will cover everything from choosing the right plants to creating the perfect environment for them. So get ready to create some living art!
Where to begin
Creating a new terrarium is easy and straightforward, and anyone can do it! The first step is to choose the right plants. You will want to select plants that are small and slow-growing. Succulents and cacti are always good plant choices for open terrariums. Once you have chosen your growing plants, it is time to prepare the soil. You will need to use a light, well-draining soil mix. This will help prevent your plants from becoming waterlogged.
Best plants for terrariums
The best plants for terrariums are slow-growing and easy to care for, and don’t need a lot of water or sunlight. Keep in mind the size of the terrarium you have chosen as well as the potential size of the plants you would like to use.
Some good plant options for open terrariums include:
- Sansevieria
- Pilea
- Peperomia
- Mini Aloe’s
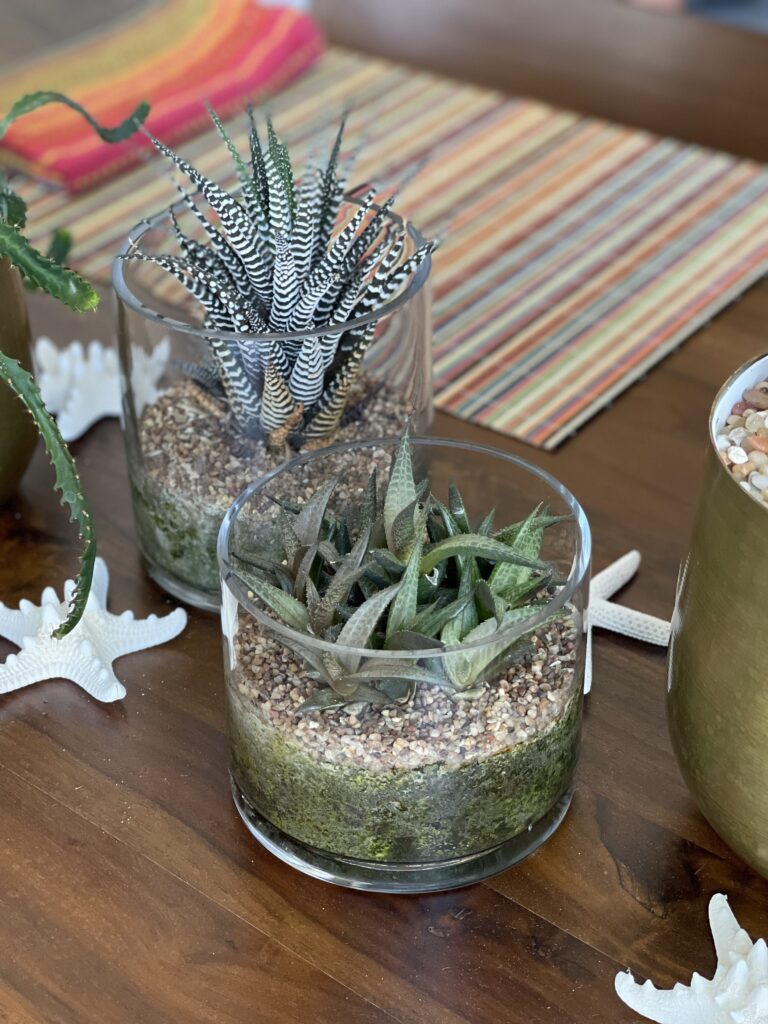
- Cacti
- Succulents
Some good plant options for closed terrariums include houseplants like:
- Ferns
- Living Moss
- Hoya
- Pothos
- Philodendron
You’ll need:
- A sturdy, clean, transparent vase, bowl, cloches, or container, consider upcycle random trays or containers when possible.
- Small gravel, or expanded clay pellets
- Activated charcoal (this helps keep the air in your closed terrarium clean!)
- Loose airy well-draining potting medium
- Plants (succulents work well)
- A spray bottle filled with water
- Decorative gravel, moss, or bark
- Special accents like crystals, shells, or small figurines for decor
- Small sticks, wire, tweezers, or chopsticks
Now that you have everything you need, It is time to start!
Step 1
Decide on the style of terrarium you would like to create. If you would like a hands-off approach to the maintenance or care? Then consider a dry-garden open terrarium. If you like to fuss with your plants and want to be a good helicopter plant parent? Then choose a closed terrarium and aim for something tropical using philodendrons, hoyas, and ferns.
Step 2
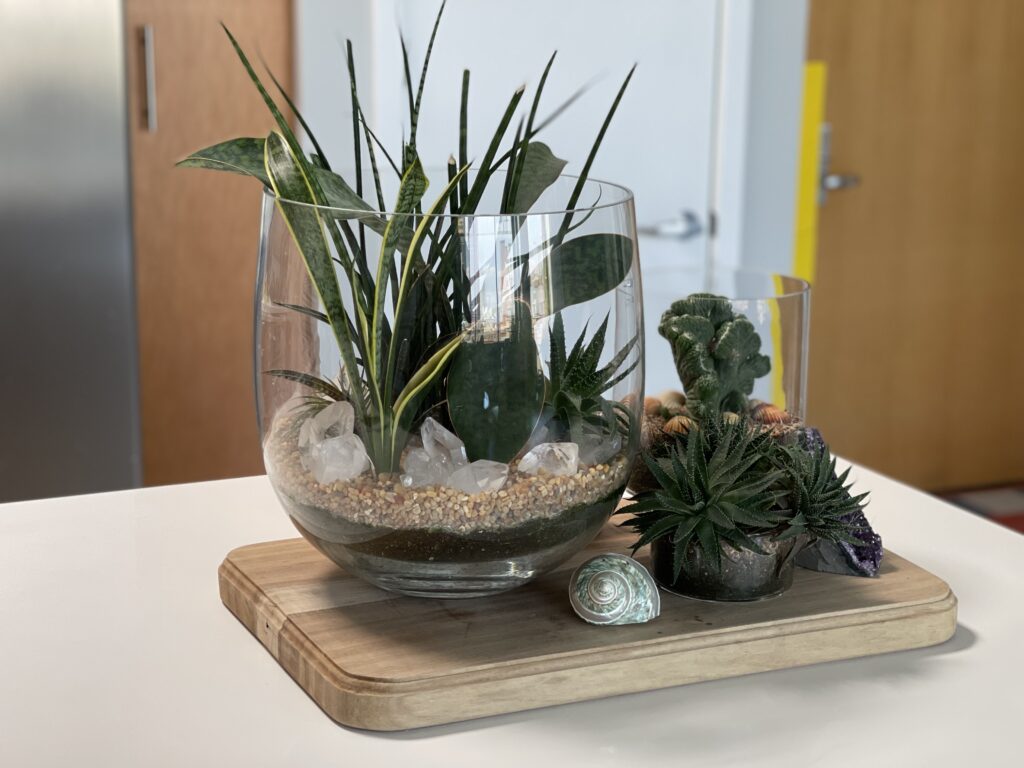
Choose your new terrarium, this can be a shallow bowl, a medium-sized accent for a coffee table, or a show-stopping hand-blown glass vase.
Now that you have chosen your new terrarium style and have an empty terrarium that needs to be filled, it’s time to start planting.
Step 3
Begin by adding a layer of porous gravel to the bottom of your container. I recommend using a small upcycled container like a protein scoop to fill my terrarium container. The amount needed will vary based on the size of the terrarium you have chosen. The purpose of this step is to provide a place to collect excess water and help with airflow and drainage.
Step 4
Gently add a layer of appropriate dirt, over the gravel base you have already created. The dirt should be fairly light and airy to provide good airflow and drainage. One of my go-to’s is equal parts cactus mix and potting soil. Another option is one part pumice and two parts potting mix. The kind or amount of dirt needed will vary depending on the style terrarium container.
Introducing your plant children to their terrarium.
Step 5
Depending on your plant choices or design, you may consider shaving off some of the soil from your plants. This will allow them to be nestled lower in their terrarium and will provide a more dramatic look. While planting, keep in mind not to disturb the gravel base from step 3. Take note of how your layers are looking, from the gravel on the base to the top dressing when completed. This is where the recommended sticks or tweezers come in handy to level the dirt creating a tidy garden.
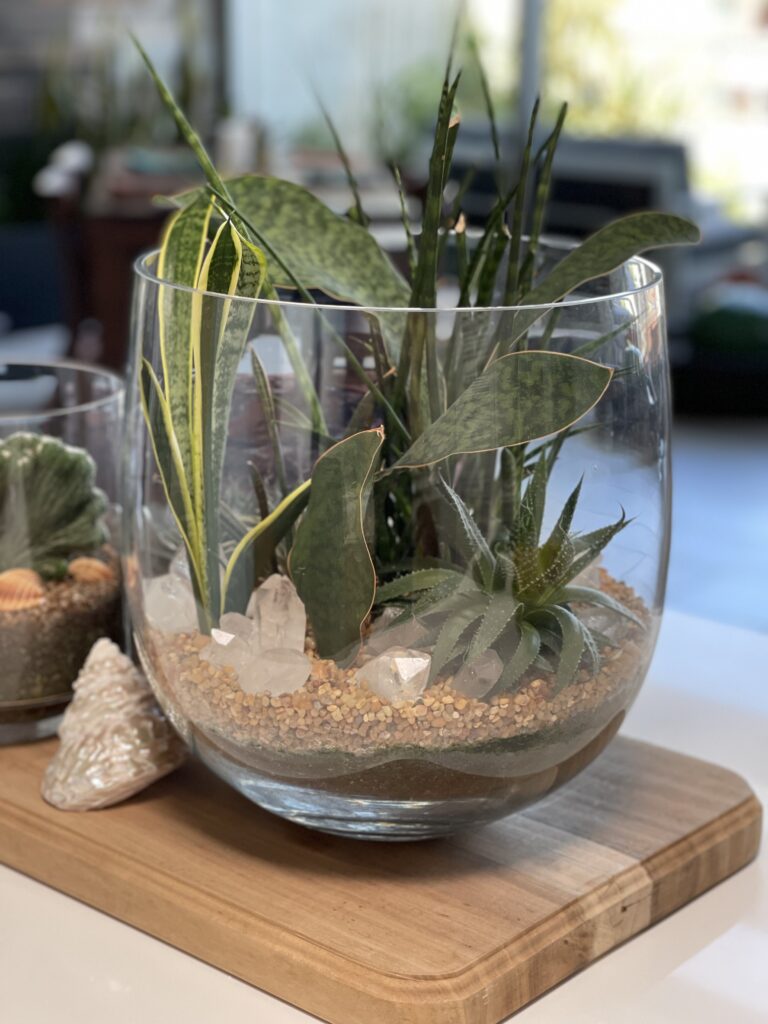
Step 6
Once your plants are in place, it’s time to embellish your terrarium. Starting with top dressing the soil, I prefer tiny gravels as the final layer in my terrariums. I have found natural gravels used for fish tanks to be a great, easy to find option. Going with a tropical garden, moss, mini nuggets or shredded bark looks great!
The finishing touches
Step 7
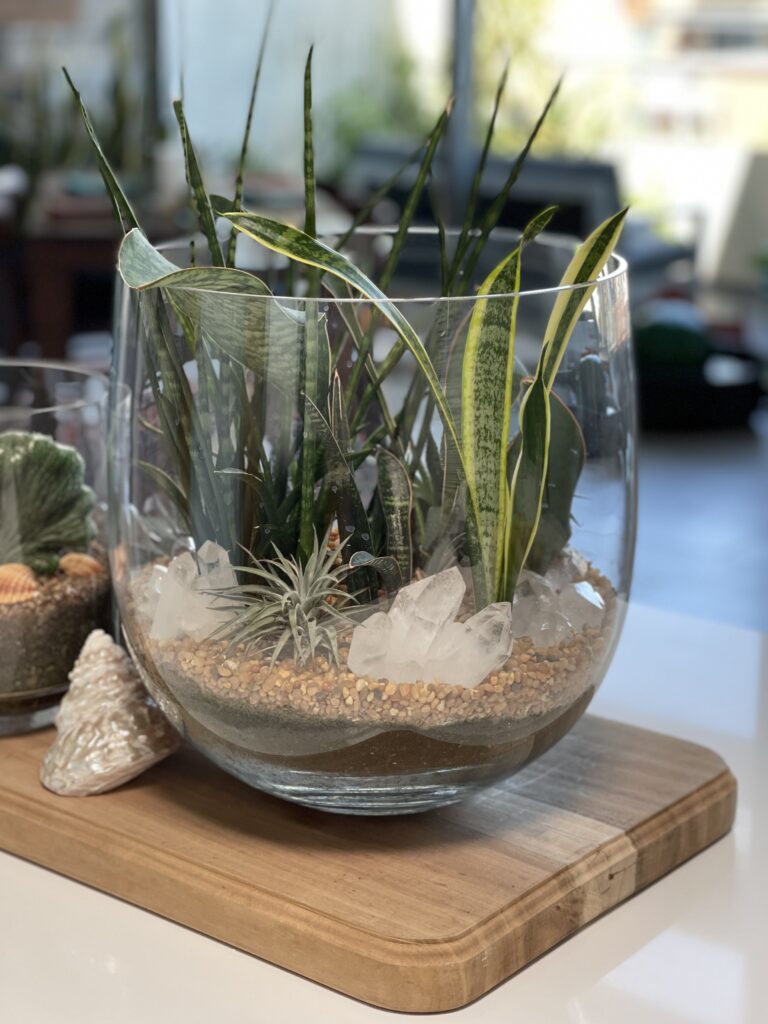
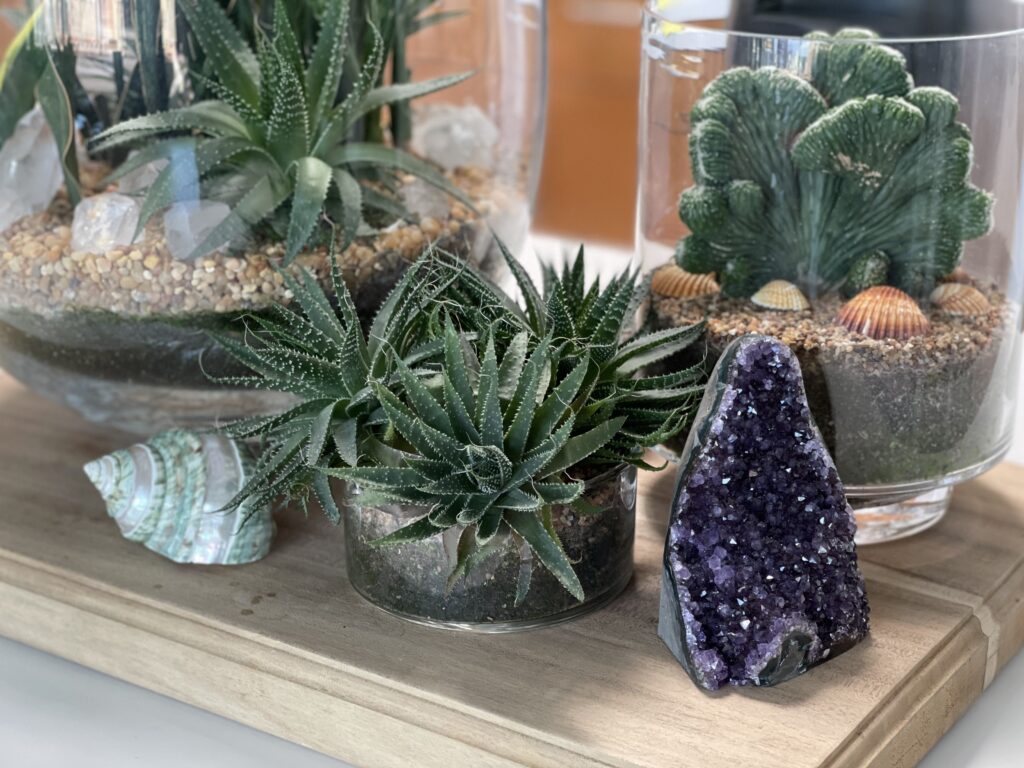
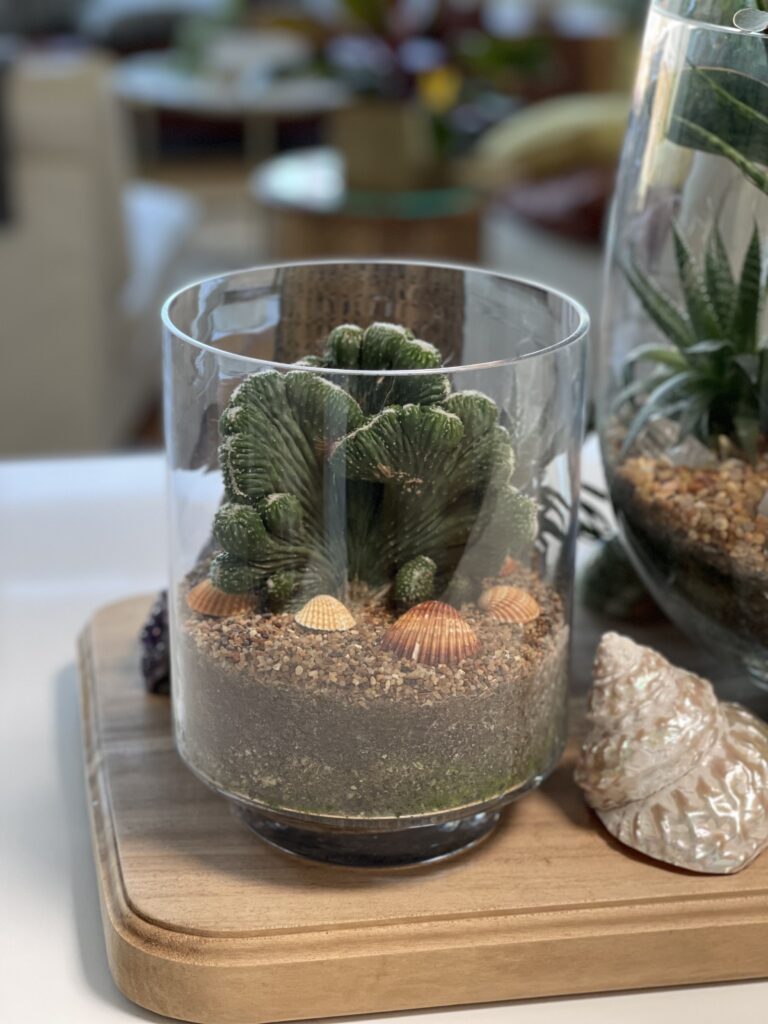
Your terrariums are probably looking good now. With layers of textures and plants inside, what else is needed? Décor! This can be anything from rocks, shells, or crystals, to miniature figurines. Be creative, the possibilities are endless.
Step 8
The last step is to carefully water your garden, being mindful that this is a closed system with no place for excess water to escape. Use distilled or purified water, as tap water can damage your plants while leaving spots on the glass.
Congratulations, you have now created a living piece of art!
Lastly
Place your new terrarium in a bright spot out of direct sunlight.
Such a great article. Amazing tips. I’ve been wanting to create my own terrariums for a long time. Very inspirational. They also make great gifts to family and friends.
I enjoyed your article. I learned so much! Can’t wait for the next 10 days! You’re going to turn my pink thumb to green!
great option for when we go on holidays and no one is available to water your plants!